


Build a brick walkway: 4 Easy Steps
Why Building Your Own Brick Walkway Transforms Your Home
Building a brick walkway does more than create a path—it adds timeless charm and instant curb appeal. A well-built brick walkway can last over 100 years, making this DIY project a fantastic investment for your outdoor space.
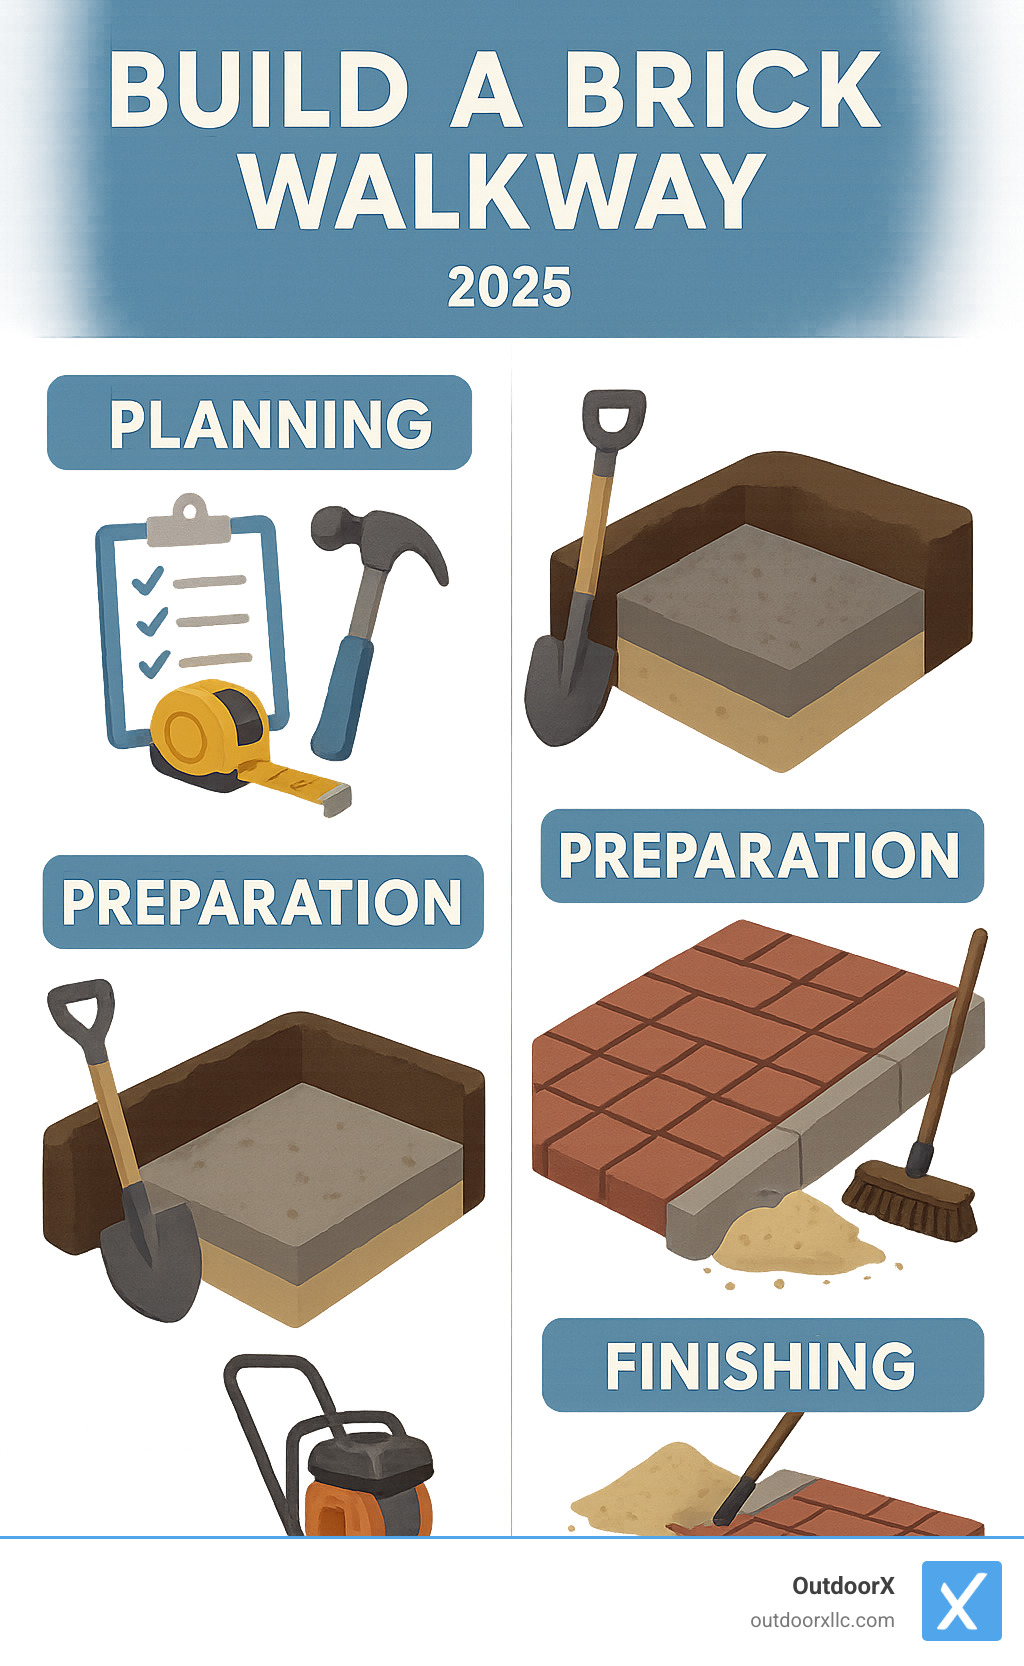
Here’s what building a brick walkway involves:
- Planning – Choose your design, calculate materials, and gather tools
- Ground Preparation – Excavate 7-8 inches deep, create proper drainage slope
- Foundation Building – Install 4-6 inches of crushed stone base plus 1 inch of sand
- Brick Installation – Lay pavers in your chosen pattern, add edging, fill joints
- Finishing – Compact surface, sweep sand into joints, clean up edges
A typical 20-foot brick walkway costs between $200 to $900+ for materials (based on internet data, not OutdoorX LLC pricing), and most homeowners complete the project in 8-10 hours of work time.
As one experienced DIYer noted, “The warmth of brick’s color, the strength of its material, and the good feeling underfoot all appealed to me.”
A well-built brick walkway adds function and beauty, whether it connects your driveway to the front door or meanders through a garden. The key to a long-lasting path is proper base preparation, which ensures it remains level and stable for decades.
Build a brick walkway terms to learn:
Planning Your Project: Tools, Materials, and Design
Successful brick walkways start with thoughtful planning. Mapping out your project scope, choosing the right materials, and gathering the proper tools beforehand will save you headaches later.
When you build a brick walkway, you’re making long-term design decisions. Walk the intended path to visualize how it connects different areas. Consider its width (3-4 feet is standard), any curves, and how it integrates with existing landscaping.
If you’re dreaming of something more elaborate than a basic straight path, or if your project involves complex grading and drainage considerations, it might be worth consulting with professionals. The team at OutdoorX has helped countless homeowners in Essex County create stunning hardscaping features that perfectly complement their properties. Learn more about our hardscape design services.
Essential Tools and Materials
The right tools make this project much more manageable. You’ll need basic hand tools and a few specialized items you can rent or borrow.
For excavation and material handling, you’ll need a pointed spade, a rake, and a wheelbarrow for moving bricks and bags of sand. The most important tool to rent is a plate compactor. It creates a solid, stable base that prevents the walkway from shifting or developing low spots, which a hand tamper can’t achieve for larger areas. A 4-foot level helps ensure proper drainage slope, while mason’s line and stakes keep your edges straight.
For brick installation, you’ll need a rubber mallet to tap pavers into place. To cut bricks, a circular saw with a masonry blade or an angle grinder makes clean cuts. Some prefer the traditional brick chisel and 4-pound hammer for a more rustic look.
Don’t forget safety essentials: safety glasses, work gloves, and knee pads.
Material-wise, you’ll need paving bricks, 3/4-inch crushed stone for the base, and washed concrete sand for the bedding layer. Plastic edging secured with landscape spikes keeps everything in place, while landscape fabric prevents weeds. Finally, polymeric sand fills the joints, creating a strong, weed-resistant surface.
Choosing the Right Bricks and Patterns
The bricks and pattern you choose define your walkway’s character.
First, always use paving bricks, which are manufactured to handle foot traffic, moisture, and freeze-thaw cycles. Regular building bricks will crack and crumble within a few seasons.
- Clay pavers offer a classic look with rich colors that improve with age. They cost more but can last over a century.
- Concrete pavers are a budget-friendly alternative with a wide variety of colors and textures.
- Reclaimed bricks bring unique character, but their size variations require more patience during installation. When shopping for reclaimed bricks, knock two together—a ringing sound indicates they are durable pavers.
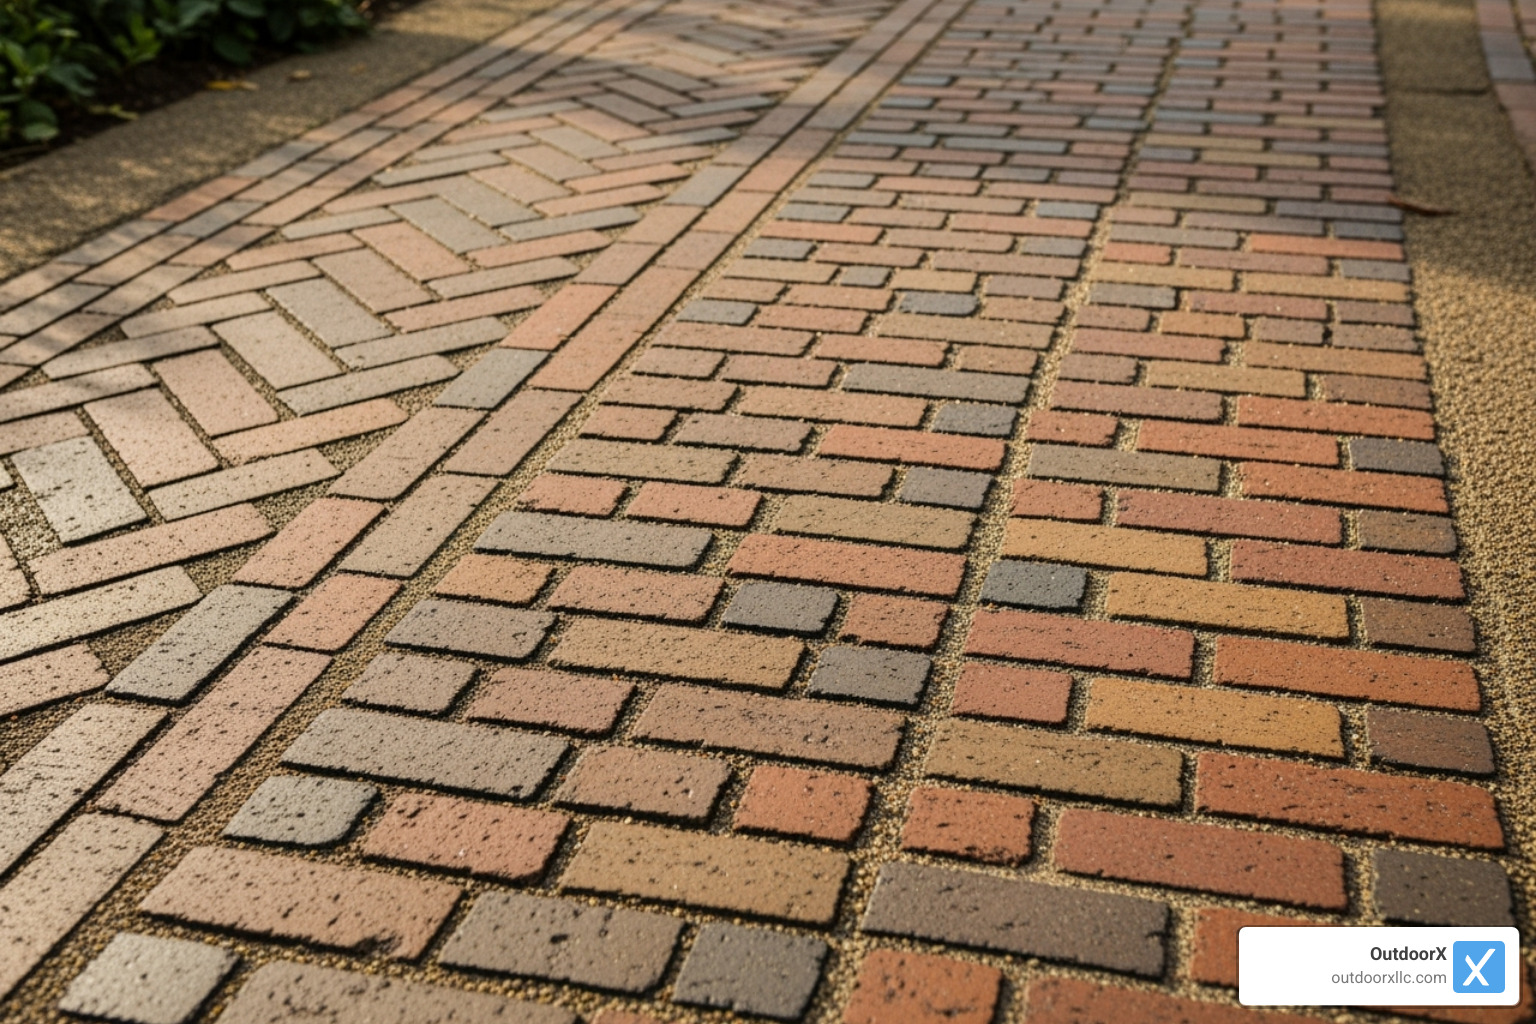
Pattern selection affects both appearance and complexity.
- The running bond pattern is great for beginners, with bricks laid in parallel, offset rows. It’s structurally sound and requires minimal cutting.
- The herringbone pattern creates a sophisticated zigzag with excellent interlocking strength but requires more precision and cutting.
- The basket weave pattern offers intricate visual interest and is surprisingly DIY-friendly, often requiring no cuts with modular bricks.
For detailed design guidance, check out this helpful resource: How To Design a Brick Walkway.
Estimating Cost and Time Commitment
When you build a brick walkway yourself, material costs are a fraction of professional installation prices. A typical 20-foot walkway runs between $200 and $900+ for materials, based on internet data—this is not an official quote from OutdoorX LLC. Your actual costs depend on material choices, with basic concrete pavers being the most affordable. Tool rentals for a plate compactor and masonry saw might add around $130 per day.
Time-wise, plan for 8-10 hours of work for a 20-foot path. This varies with experience and pattern choice; a simple running bond is faster than an intricate herringbone. A helper can cut your time substantially. This project rewards patience, especially with foundation work. Consider breaking it up over a couple of weekends rather than trying to complete it all at once.
How to Build a Brick Walkway: A Step-by-Step Guide
With planning complete, it’s time to build. Before you dig, take the critical safety step of calling 811 a few days in advance. This free service marks underground utility lines, preventing dangerous and expensive accidents. Always wear safety glasses and gloves, and use knee pads during the brick-laying phase. For more detailed guidance on the installation process, check out our comprehensive resource on Brick Walkway Installation.
Step 1: Ground Preparation and Excavation
Proper ground preparation is non-negotiable for a walkway that will last for decades.
Path Layout and Marking: Use a garden hose to visualize curves before marking the final path with stakes and mason’s line or spray paint. Mark the area at least 6 inches wider than the finished walkway on each side to accommodate the base and edging.
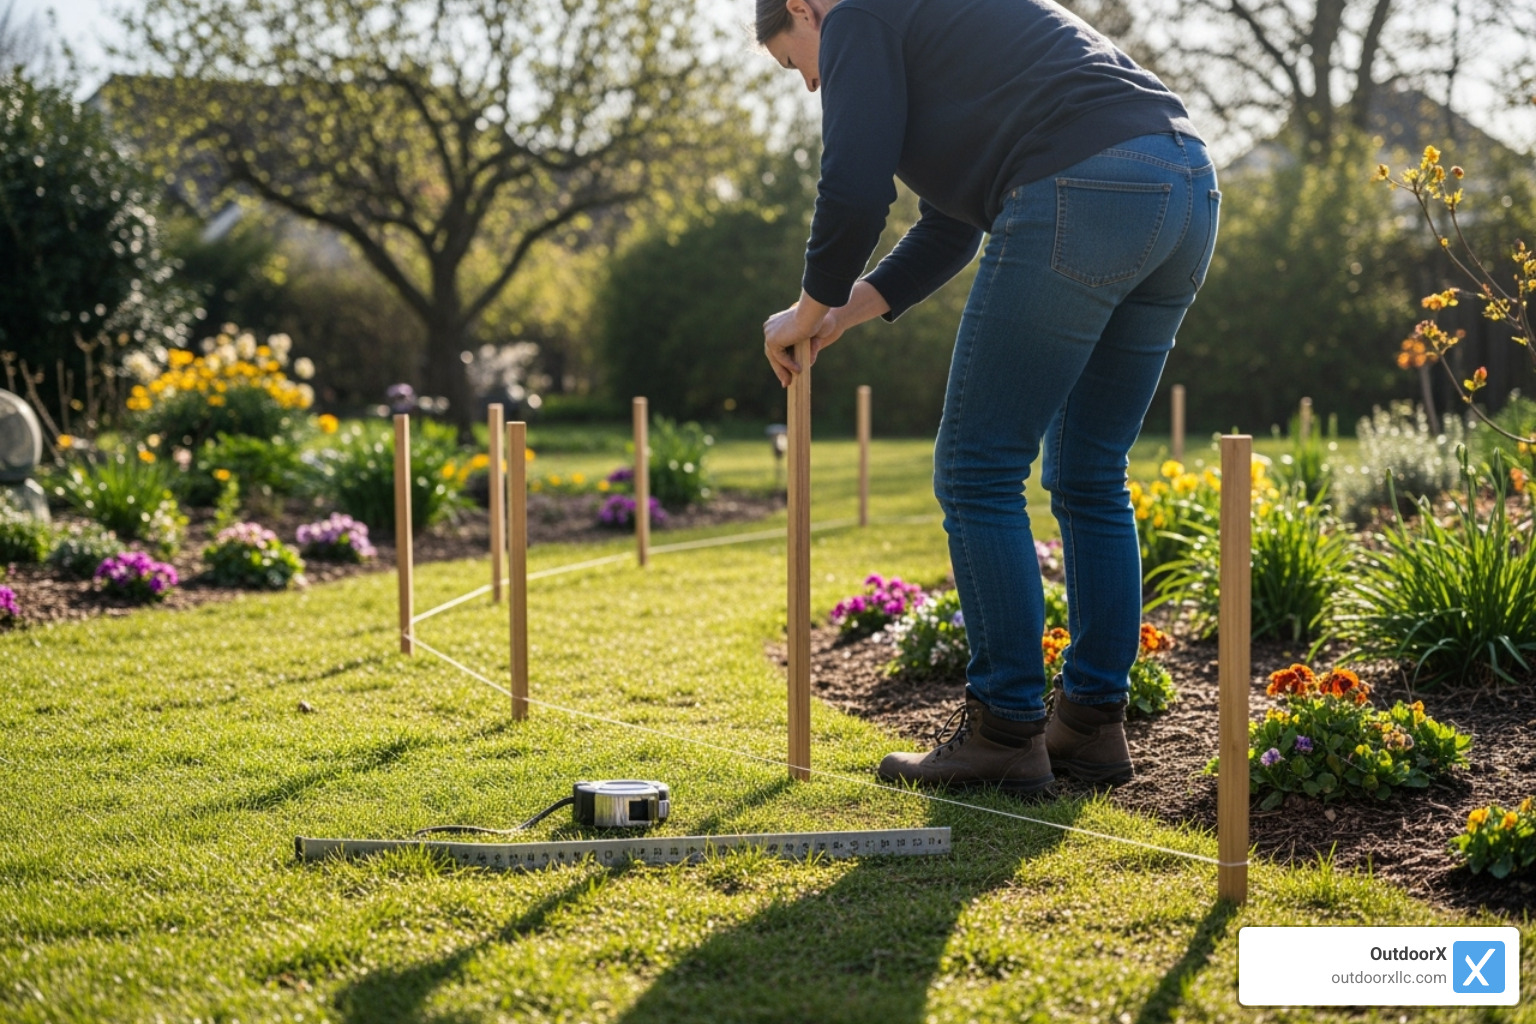
Removing Sod and Excavation: Remove any sod, which can be reused elsewhere. For a standard 2⅛-inch paver, a 4-inch gravel base, and a 1-inch sand layer, you need to excavate about 7½ inches below the desired finished grade. This depth is essential for a stable, long-lasting walkway.
Creating a Drainage Slope: A proper drainage slope prevents water damage. Aim for a ¼-inch slope for every 4 feet of run, directing water away from your house. Use your mason’s line and level to check this slope as you dig.
Step 2: Creating a Solid Foundation
The foundation is the unseen hero of your project, providing the stability to keep your path level for years.
Compacting the Subgrade: Once excavation is complete, use a plate compactor to make several passes over the exposed soil at the bottom of the trench. This prevents future settling.
Laying Landscape Fabric: Next, lay heavy-duty landscape fabric to prevent weeds and keep your base materials from mixing with the soil. Overlap seams by at least 6 inches.
Spreading the Gravel Base: Spread a minimum of 4 inches of ¾-inch crushed stone or gravel. One cubic yard covers about 81 square feet at 4 inches thick. Use a rake to maintain the drainage slope.
Compacting the Gravel: For maximum density, spread and compact the gravel in two 2-inch layers. This creates an incredibly stable base.
Spreading the Sand Bed: Add a 1-inch layer of sand for leveling the bricks. One cubic yard of sand covers approximately 324 square feet at a 1-inch depth.
Screeding the Sand Level: Screeding the sand creates a perfectly smooth surface. Lay two 1-inch PVC pipes or straight 2x4s as guide rails. Pour sand between them and pull a straight 2×4 across the guides to smooth the sand to a consistent 1-inch depth. Remove the guides, fill the trenches with sand, and smooth by hand.
For more detailed information, our guide on Base for Paver Walkway covers all the technical details.
Step 3: Installing Edging and Laying the Bricks
Now it’s time to lay the bricks, but first, install the edging to lock the perimeter in place.
Installing Edging: Edging prevents bricks from shifting. Plastic edging is flexible for curves and strong enough to hold everything. Position it so its top is slightly below your finished brick height and secure it with landscape spikes every foot.
Laying Bricks: Start at one end and work systematically. Keep bricks tightly abutting each other to create strength and prevent weeds. Tap each brick with a rubber mallet to settle it into the sand. Use a 4-foot level frequently to check for evenness and slope.
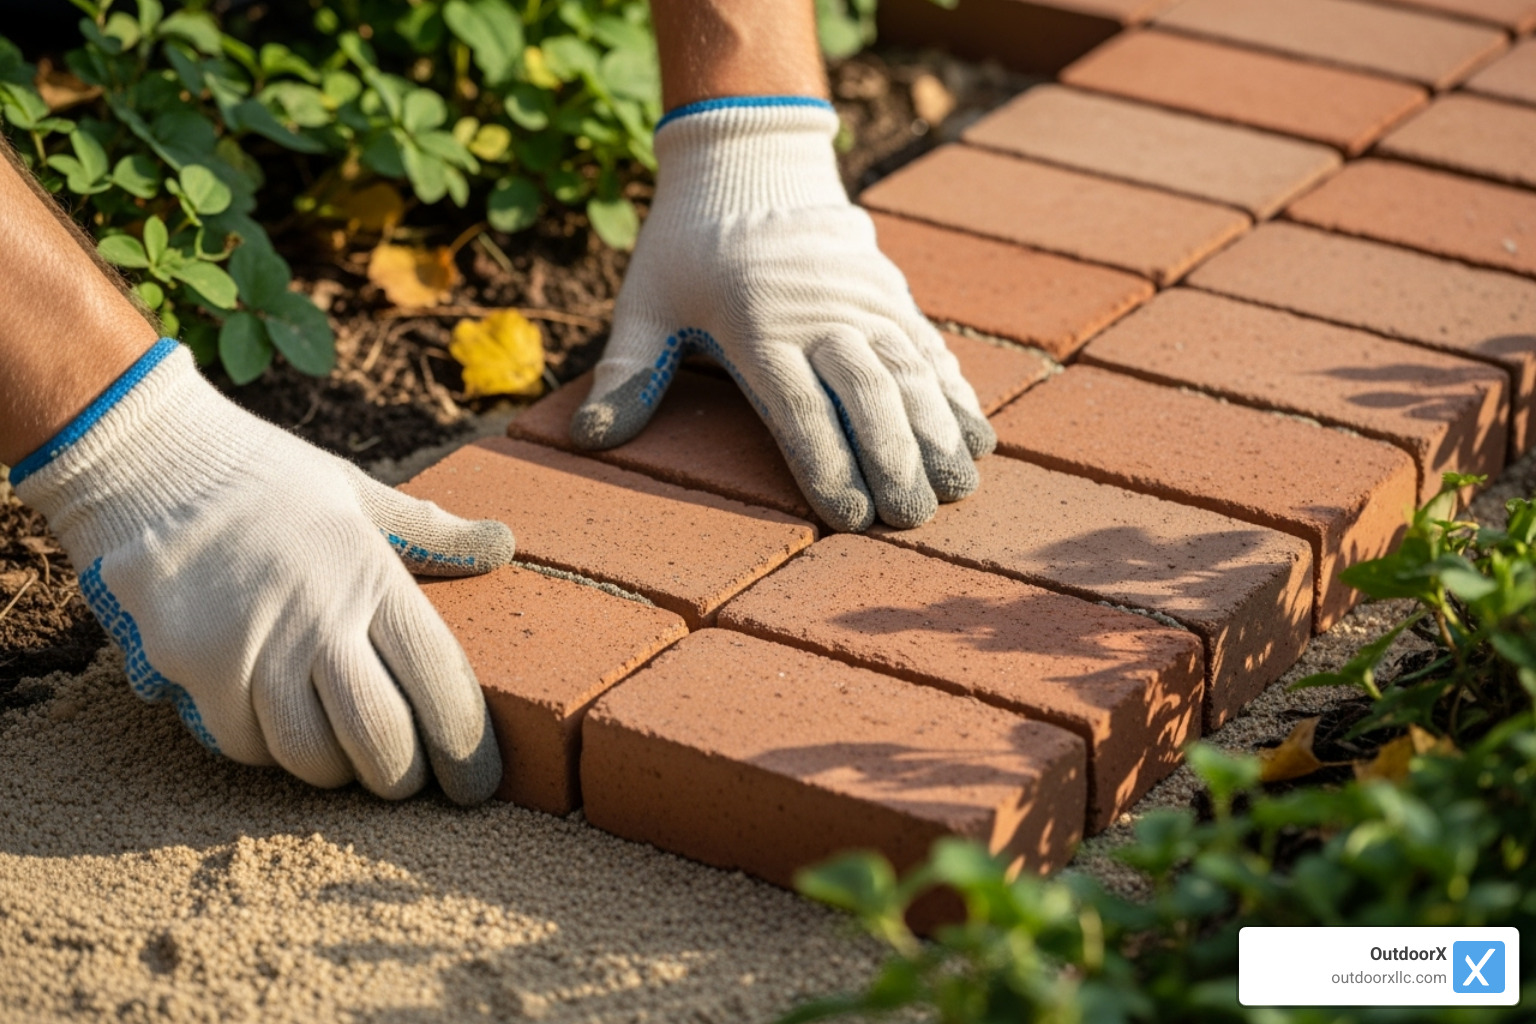
Cutting Bricks: For curves and edges, mark your cut line and use a circular saw or angle grinder with a masonry blade for precise cuts. Use water to control dust. For a rustic look, use a brick chisel and hammer. Avoid using pieces shorter than 1½ inches, as they can become unstable.
The comprehensive guide How to Build a Beautiful Brick Walkway or Patio offers additional techniques for laying and cutting.
Step 4: Compacting and Finishing Touches
These final steps transform individual bricks into a solid, unified surface.
Initial Compaction: Run a plate compactor over the entire walkway to settle the bricks firmly into the sand bed.
Spreading Polymeric Sand: This special sand contains polymers that activate with water to create a strong, flexible bond that resists weeds and insects. Scatter the dry sand across the walkway and use a broom to sweep it into every joint.
Final Compaction and Joint Filling: Make another pass with the plate compactor to settle the sand. Repeat adding and sweeping sand until all joints are completely filled.
Activating Polymeric Sand: Lightly mist the entire surface with a garden hose on a fine spray setting. The goal is to saturate the sand without washing it out. The sand will harden in 24-48 hours; follow the manufacturer’s drying instructions and avoid walking on it too soon.
Backfilling and Cleanup: Use topsoil to backfill the excavated areas along the edges, tamping it down firmly. You can plant grass or ground cover up to the brick edges for a seamless transition. Once finished, you’ll have a beautiful, functional addition to your home that you built yourself and will provide decades of service.
Ensuring a Lasting and Beautiful Walkway
After you build a brick walkway, a little ongoing care will ensure it remains beautiful and functional for decades. With proper installation, a brick path can last over a hundred years. For more comprehensive outdoor changes, our Landscape Installation services in towns like Gloucester, Ipswich, and Manchester-by-the-Sea can tie everything together beautifully.
Long-Term Maintenance Tips
Maintaining your brick walkway is straightforward. These simple tasks will keep it in top condition.
- Regular sweeping keeps the surface clear of debris and prevents organic matter from encouraging weed growth.
- Washing with mild detergent periodically removes grime or stains. A pressure washer on a low setting can work, but be careful not to blast out the joint sand.
- Reapplying joint sand is needed every few years. Sweep fresh polymeric sand into the joints and activate it with a light misting.
- Address loose or sunken bricks quickly. Lift the brick, adjust the sand underneath to level it, and replace it.
- Sealing the walkway is optional but can protect against weather, UV damage, and staining. An annual application of brick sealant also improves color and simplifies cleaning.
Overcoming Common Challenges When You Build a Brick Walkway
Here’s how to tackle common issues that can arise when you build a brick walkway.
- Uneven surfaces and wobbly bricks almost always trace back to an improperly prepared base. The fix involves lifting the problem bricks, adjusting the sand bedding layer, and re-compacting before replacing them.
- Weed growth in joints can be frustrating. Use a weed puller or horticultural vinegar for persistent invaders. The best defense is keeping joints completely filled with polymeric sand.
- Poor drainage appears as puddles after rain and indicates an issue with the initial slope. You may need to excavate these areas and re-grade the base to ensure proper runoff.
- Heaving in cold climates occurs when frost pushes bricks upward due to insufficient base compaction. This is especially important in colder Essex County towns like Boxford or Topsfield. Prevention requires thorough compaction of both the subgrade and gravel base. If heaving occurs, the base in the affected area must be improved.
Frequently Asked Questions about Building a Brick Walkway
Here are answers to common questions that arise when you’re ready to build a brick walkway.
What is the best base for a brick walkway?
The base is the most critical part of your walkway. The gold standard for a lasting brick walkway is 4 to 6 inches of compacted crushed stone or gravel, topped with 1 inch of perfectly leveled sand.
This two-layer system provides stability and support. The key is proper drainage: this combination allows water to flow through and away from the walkway, preventing the freeze-thaw cycles that cause shifting and heaving.
How do you lay a brick walkway on a slope?
Laying a walkway on a slope is manageable with the right approach. For gentle slopes, you can follow the natural grade of your yard. Just maintain the crucial 1/4-inch drop per 4 feet across the walkway’s width to ensure water runs off to the sides.
For steeper slopes, prioritize safety by breaking the walkway into level terraces or incorporating steps. This provides stable footing while creating an attractive path. The terrain in places like Hamilton and Essex County often presents these challenges, and working with the landscape produces the best results.
Can I use regular bricks for a walkway?
This is a critical question, and the answer is a definitive no. Regular building bricks are not designed for ground contact. They are made for walls and will not withstand the moisture, foot traffic, and weather that walkways endure.
Always use paving bricks (or pavers) when you build a brick walkway. These are fired at higher temperatures, making them denser and non-porous. They are engineered to handle summer rain and winter freeze-thaw cycles. Regular bricks will crack and crumble within a few seasons, while properly installed paving bricks can last over 100 years.
The investment in proper paving materials pays off in durability and appearance, making it one of the best home improvement investments you can make.
Conclusion
Building your own brick walkway is a project that offers lasting satisfaction. Every time you walk the path, you’ll feel the pride of creating something beautiful and durable with your own hands.
When you build a brick walkway, you’re investing in timeless beauty that can last for generations. The path you create will be ready to welcome family and friends for decades. With proper installation, your DIY brick walkway can increase your home’s curb appeal and value. There’s immense satisfaction in stepping back after 8-10 hours of work and knowing you built it yourself.
Of course, not every homeowner has the time or tools to tackle a project like this. For more complex designs or to ensure a professional, long-lasting result without the DIY effort, consulting with hardscaping experts is a great option.
The team at OutdoorX understands that every outdoor space is unique. Serving communities across Essex County like Danvers, Essex, and Salem, we specialize in creating custom walkways that perfectly match your home’s style and your family’s needs. From selecting the ideal brick pattern to ensuring proper drainage for our New England weather, we handle every detail with care and professional efficiency.
Whether you decide to build it yourself or prefer to work with professionals, a beautiful brick walkway is within reach. Your outdoor space deserves the timeless charm and lasting beauty that comes from quality craftsmanship.
Explore our Hardscaping Services
