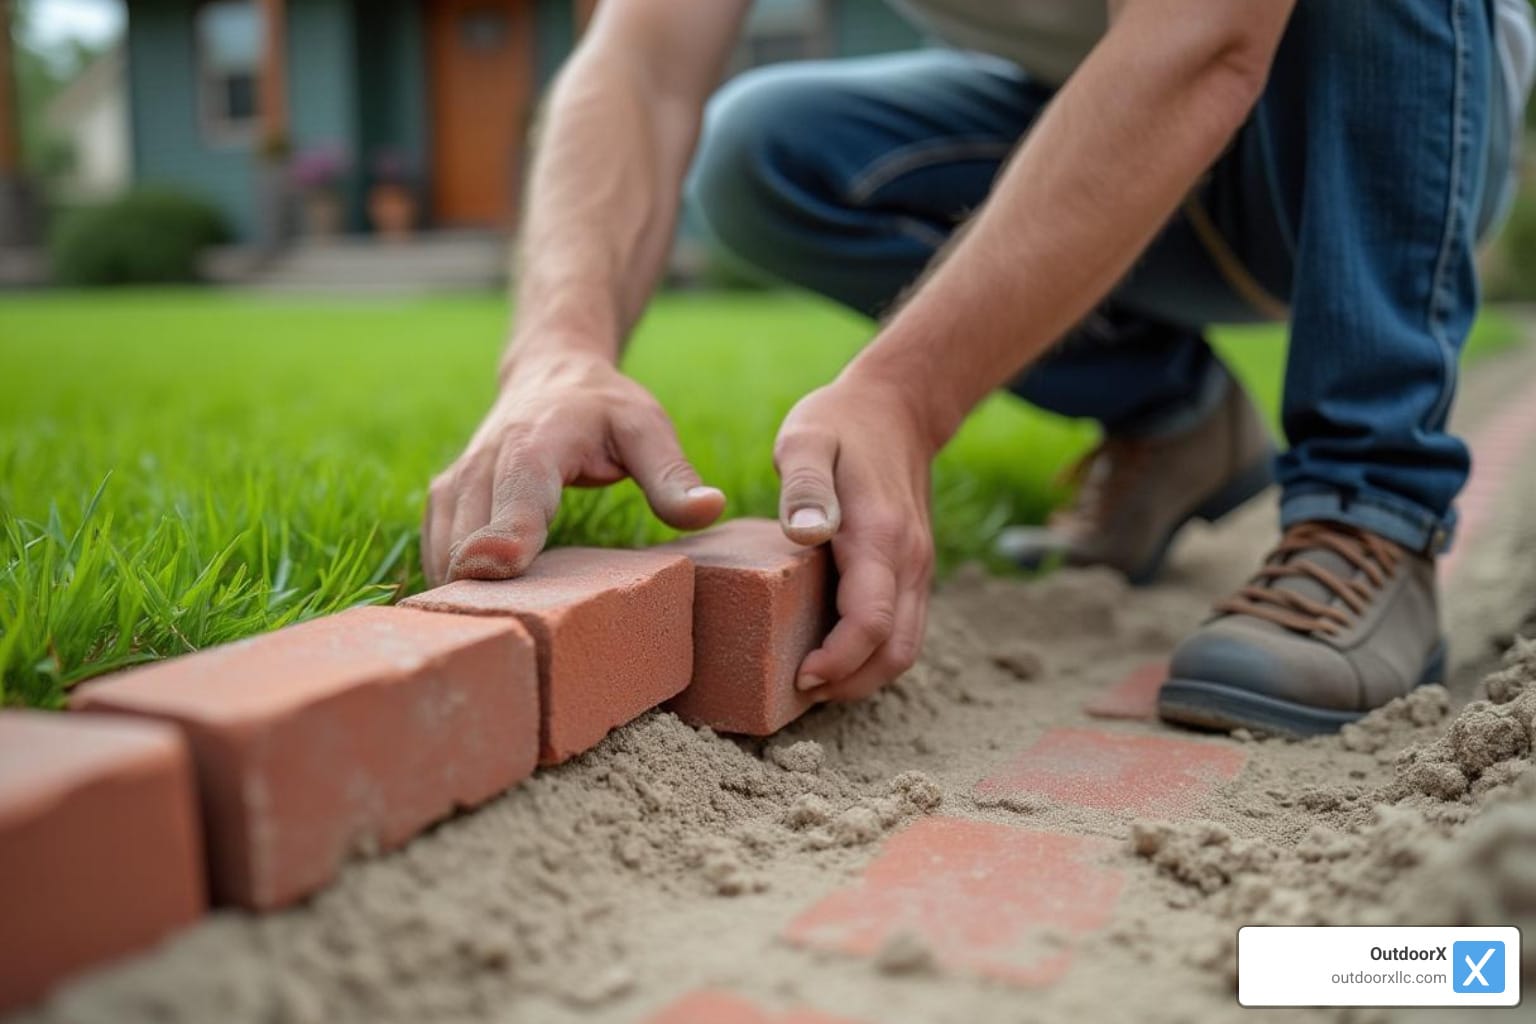
Brick Walkway Installation: 10 Best Proven Steps for Success 2025
Why a Brick Walkway Transforms Your Outdoor Space
Brick walkway installation is a weekend DIY project that can dramatically improve your home’s curb appeal while providing safe, durable passage through your outdoor spaces. Bricks themselves have a rich history stretching back to ancient Mesopotamia—learn more in this concise brick history article. If you’re looking to install a brick walkway yourself, here’s what you need to know:
Quick Guide to Brick Walkway Installation:
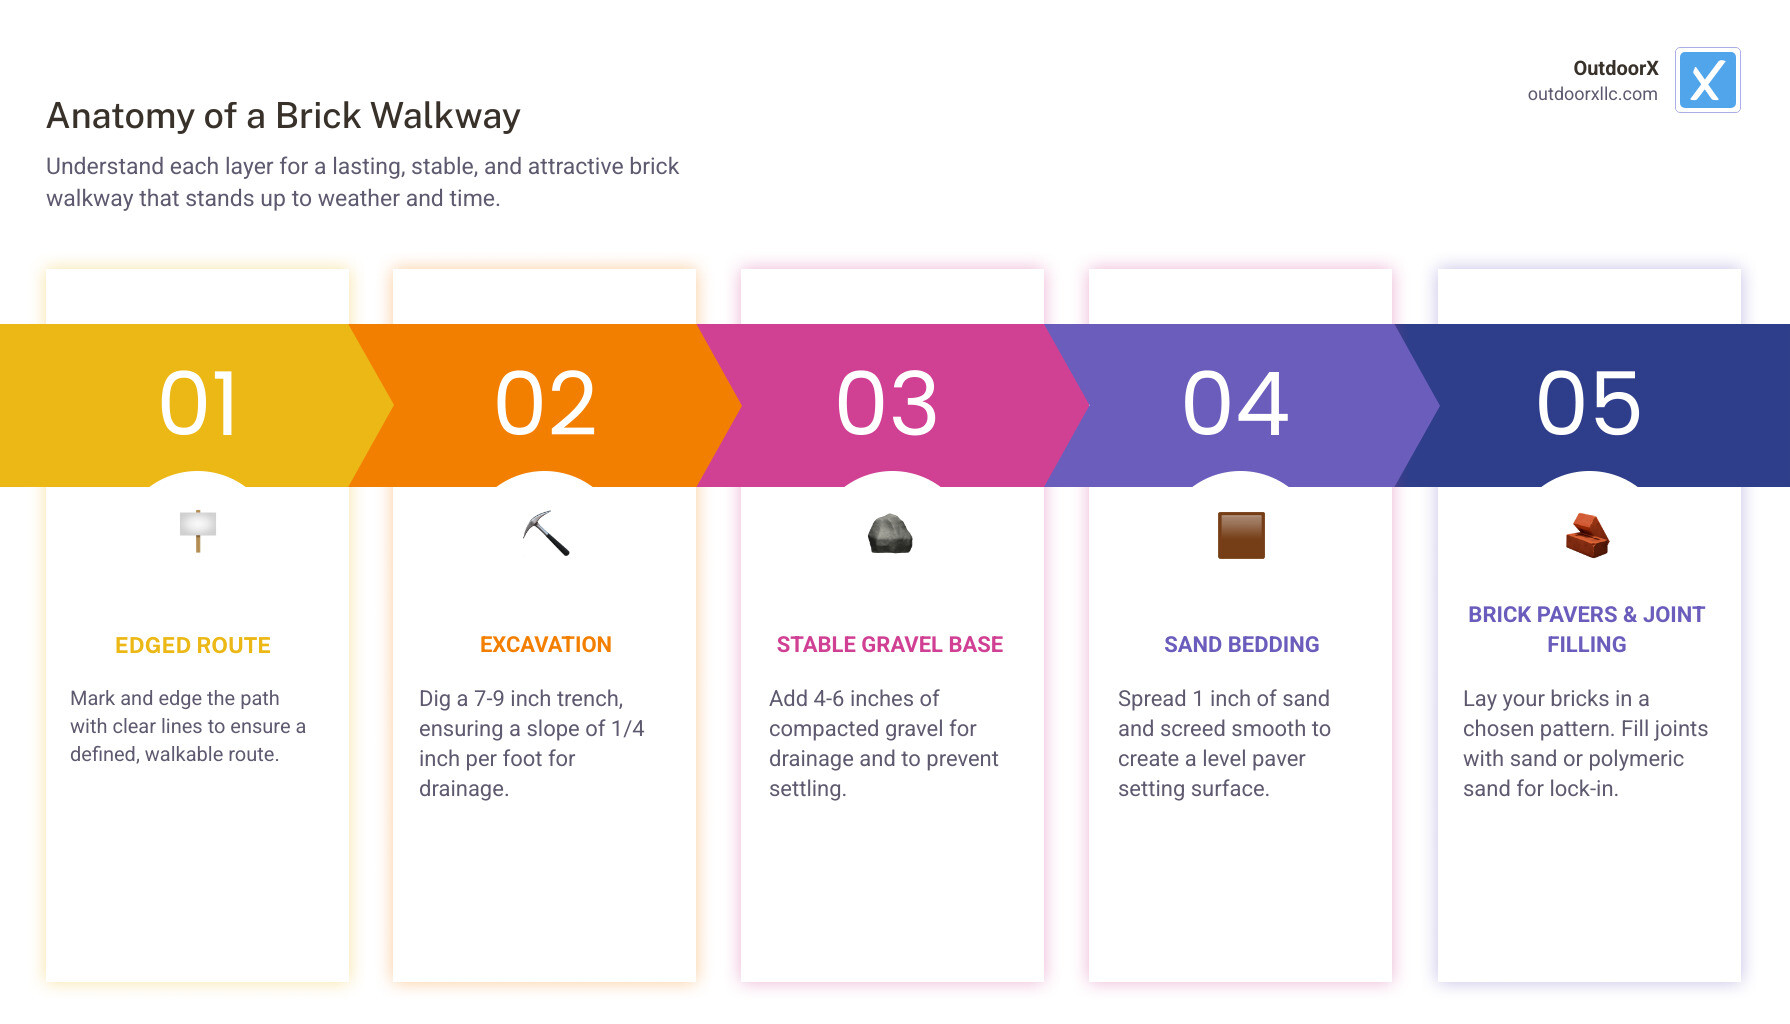
1. Plan and mark your walkway path (typically 3-4 feet wide)
2. Excavate 7-9 inches deep
3. Add base layers (4-6 inches of compacted gravel + 1 inch of sand)
4. Install edge restraints to prevent shifting
5. Lay bricks in your chosen pattern
6. Fill joints with sand or polymeric sand
7. Compact and finish the surface
Are you tired of muddy trails across your lawn? A properly installed brick walkway not only solves this problem but adds timeless charm to your property. Unlike poured concrete, brick pathways offer character, flexibility, and easy repairs if sections ever need attention.
With basic tools and materials, you can transform your outdoor space in a single weekend. A well-constructed brick walkway can last 25+ years with minimal maintenance, making it one of the most cost-effective landscape improvements available to homeowners.
“Installing a brick paver walkway is a straightforward project that can be completed in a weekend,” notes one DIY expert, confirming what many homeowners find – this project delivers exceptional value for the effort invested.
Brick walkway installation terms explained:
– base for paver walkway
– paver walkway installation
Planning & Design Essentials
The magic of a beautiful brick walkway begins with proper planning. Your brick walkway installation should complement your home’s character while serving practical needs.
Before grabbing that shovel, consider the complete picture. A well-designed walkway balances width, pattern, drainage, and edging. Sketching your ideas on paper helps visualize the final result.
“I always tell my clients that an extra foot of width makes all the difference,” says our lead designer at OutdoorX. “A 4-foot-wide path feels generous and welcoming, while only adding marginally to your material costs.”
Mapping Your Route & Marking Utilities
Safety comes first. Call 811 at least 48 hours before digging to mark underground utilities. This free service prevents costly and dangerous damage.
To visualize your path, lay out a garden hose on the ground to experiment with different curves. For straight sections, use stakes and string. Once satisfied, mark the outline with spray paint.
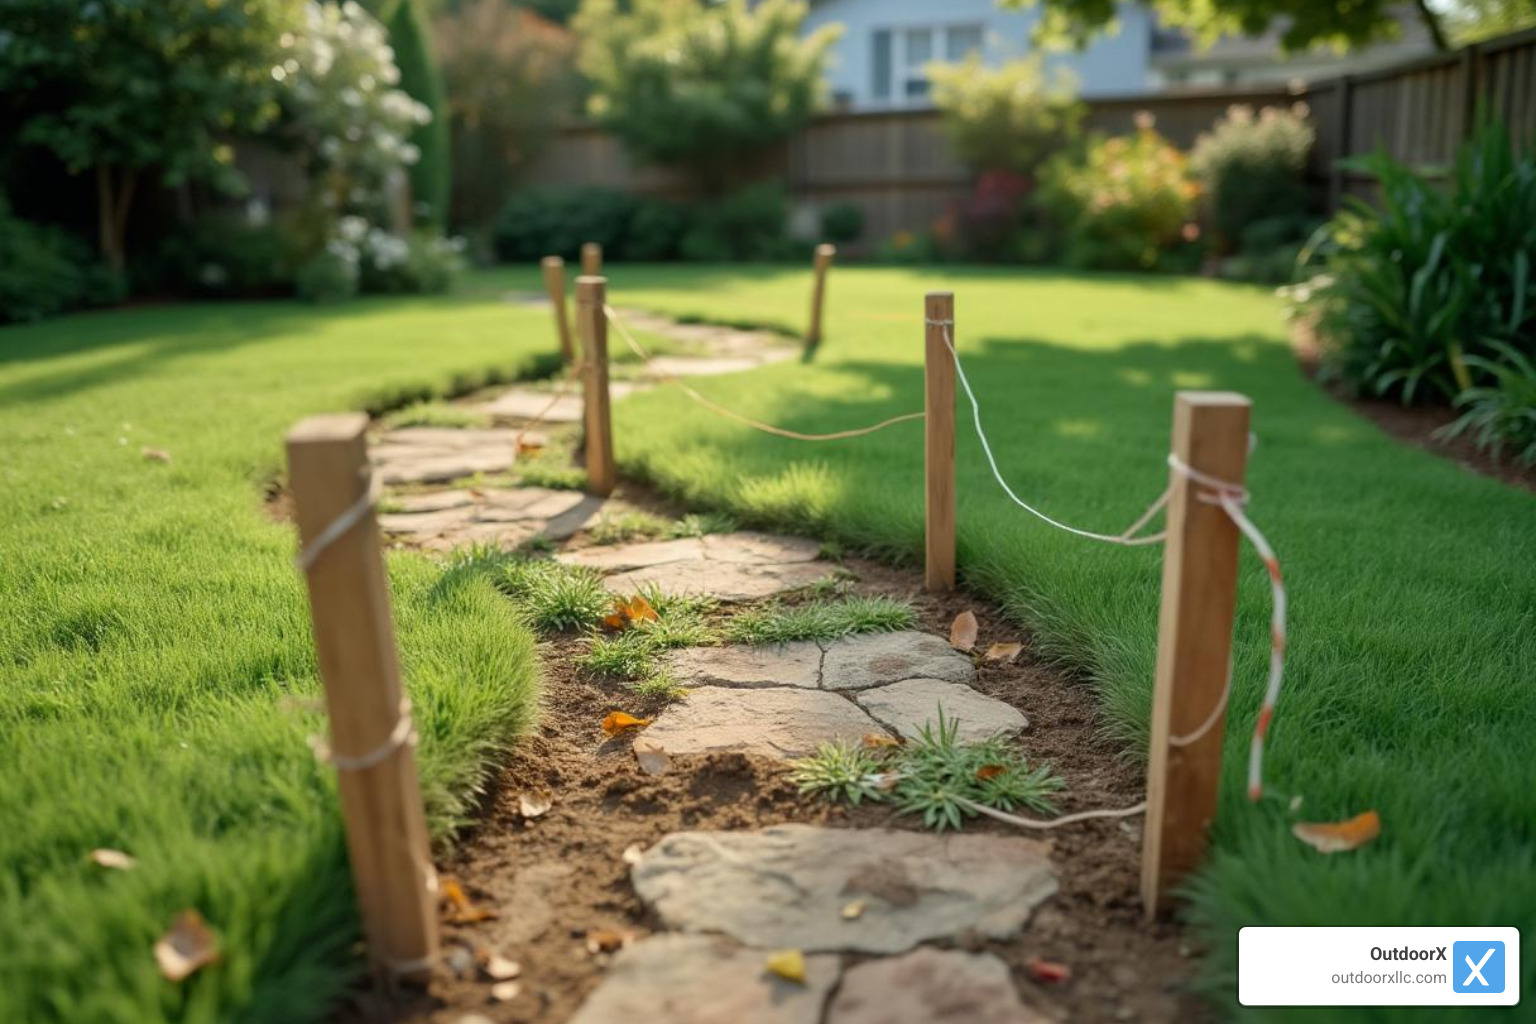
Incorporate a gentle slope of ¼ inch per foot away from structures to prevent water pooling. For curved sections, aim for gentle radii of at least 5 feet to avoid unnatural turns and trip hazards.
Choosing Patterns & Aesthetics
Your pattern selection affects both appearance and performance. Running bond patterns (bricks offset by half a length) offer classic appeal with minimal cutting. The herringbone pattern creates visual interest with bricks at 45° or 90° angles, distributing weight exceptionally well for high-traffic areas.
The basketweave pattern, with alternating pairs of bricks, complements traditional homes. For modern homes, a stack bond pattern with aligned bricks offers clean lines, though it’s less structurally sound.
Consider incorporating special features like circles or fan patterns at transition points to create focal points in your landscape.
Sizing for Comfort and Code
Width dramatically impacts how your walkway feels and functions. For main entrance paths, 3-4 feet provides comfortable passage. If you frequently entertain, consider 4+ feet to allow two people to walk side-by-side. Secondary garden paths can be narrower at 2-3 feet, while casual stepping paths might only need 14-18 inches.
For accessibility, follow ADA guidelines recommending minimum 36-inch widths with specific slope requirements.
| Walkway Type | Recommended Width | Best Use |
|---|---|---|
| Main Entrance | 4-5 feet | Front door to driveway/street |
| Secondary Path | 3-4 feet | Side yard, garden access |
| Garden Path | 2-3 feet | Through planting beds |
| Stepping Path | 14-18 inches | Casual garden access |
Gathering Tools, Materials & Calculating Quantities
Getting ready for your brick walkway installation is half the battle. With the right supplies gathered before you start, you’ll avoid frustrating mid-project trips to the hardware store.
Must-Have Tools & Rentals
You’ll need shovels and spades for digging, a sturdy wheelbarrow for moving materials, and levels to ensure proper drainage. For small projects, a hand tamper might suffice, but renting a plate compactor for larger areas will save your back. Similarly, a wet masonry saw makes precise cuts much easier than a hammer and chisel.
“I thought I could save money by skipping the compactor rental,” shares one South Hamilton homeowner. “Two hours of hand-tamping later, I was at the rental shop anyway!”
Don’t forget safety gear—gloves, eye protection, dust mask, and ear protection for power equipment.
Selecting the Right Brick or Paver
Clay paving bricks are fired at higher temperatures than regular building bricks, giving them the hardness needed for walkways. Concrete pavers offer more color and shape options, while reclaimed bricks bring character and environmental benefits.
For salvaged bricks, knock two together and listen—good paving bricks produce a clear ring, while softer ones make a dull thud. For New England winters, look for SW-grade (Severe Weather) bricks that handle freeze-thaw cycles.
Crunching the Numbers
Measure your walkway’s square footage and add 10% extra for cuts and breakage. Most standard patterns need about 4.5 pavers per square foot, while a basketweave pattern requires roughly 8 bricks per square foot.
One cubic yard of sand covers approximately 80 square feet at a 1-inch depth. Calculate gravel needs based on your walkway’s area and a 4-6 inch depth. Don’t forget landscape fabric (add 10% for overlap) and edging for the perimeter.
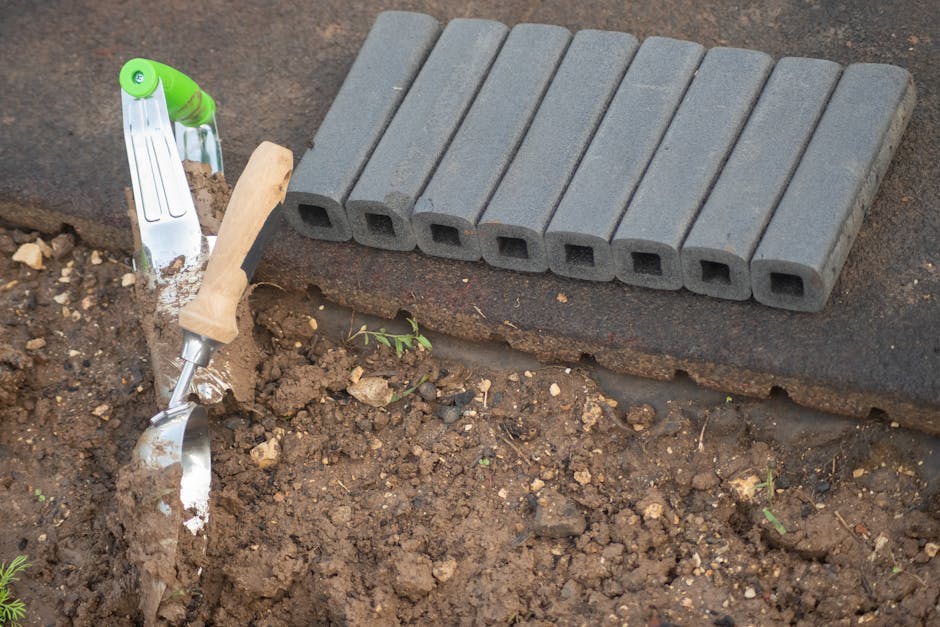
A typical 3×25-foot walkway requires approximately 340-375 standard pavers, half a cubic yard of sand, 1.5 cubic yards of gravel, and 75-80 linear feet of edging, including 10% overage.
For more information about professional Hardscaping services if you decide this project might be better left to the experts, OutdoorX has resources to help guide your decision.
Preparing a Fail-Proof Base
The secret to a long-lasting brick walkway installation isn’t in the bricks themselves—it’s what lies beneath them. A properly prepared foundation prevents settling, shifting, and frost heave issues that can turn your beautiful pathway into an uneven mess.
“Excessive sand depth beneath bricks is a common mistake I see homeowners make,” warns one masonry professional. “Those 5-6 inches of sand people think will make a cushiony base actually lead to movement and failure.”
Excavation Depth & Drainage Strategy
Mark your excavation area about 6 inches wider than your planned walkway on all sides to provide working room and space for edge restraints.
Aim for a total depth of 7-9 inches to accommodate your 4-6 inches of gravel base, 1 inch of sand, and the thickness of your bricks. Create a proper drainage slope of ¼ inch per foot, always pitching away from buildings to prevent water pooling.
After digging, square off your trench sides with an edging spade for cleaner installation.
Installing and Compacting Base Layers
Line your excavated area with landscape fabric, overlapping edges by 1-2 inches to prevent weeds and stop soil migration into your base materials.
Add gravel in 2-3 inch layers, compacting each layer thoroughly before adding the next. This methodical approach creates a much more stable foundation than trying to compact a thick layer all at once.
“Compaction locks base materials together, creating a firm, stable foundation that prevents settling and unevenness over time,” explains hardscape specialist Mark McCullough. Use a plate compactor and make multiple passes, working from the edges toward the center until the base feels firm and stable.
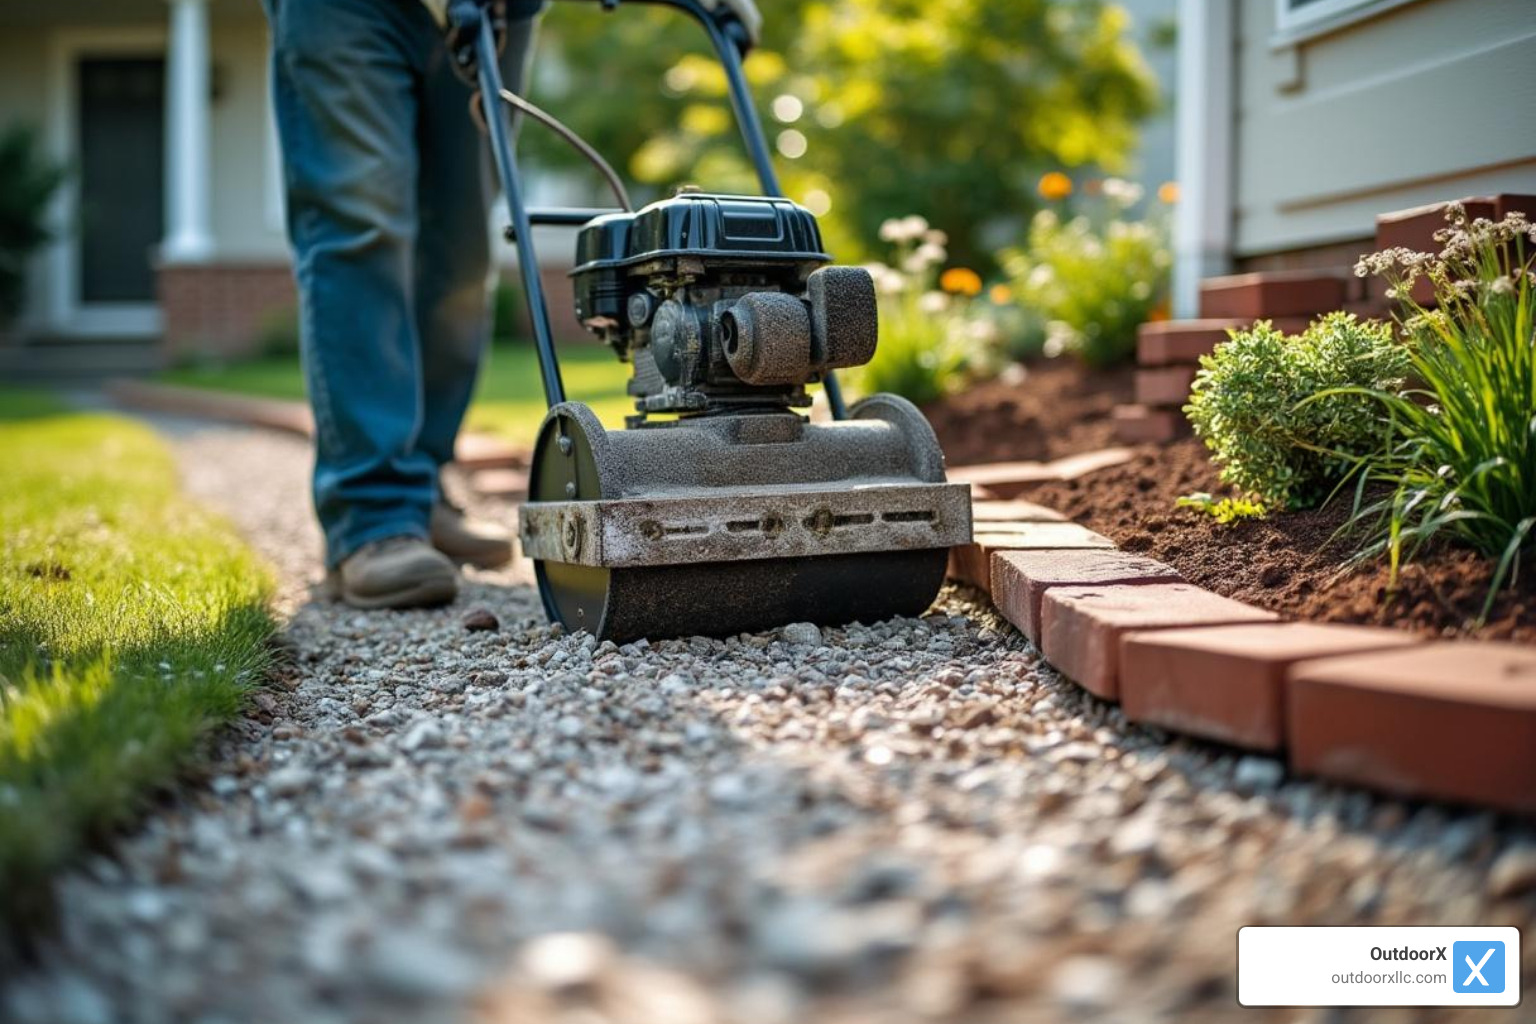
Check your level and slope frequently as you build up the base to avoid problems later.
Screeding the Perfect Sand Bed
Use coarse concrete sand rather than fine play sand or mason’s sand for better drainage and stability. Install 1-inch diameter PVC pipes as screed guides on your compacted base, then spread sand between the pipes, slightly overfilling the area.
Pull a straight board (like a 2×4) across the pipes with a sawing motion to create a perfectly level surface. Once smooth, carefully remove the pipes and fill those voids with additional sand.
Pro tip: Notch the ends of your screed board to match the brick thickness to ensure your finished walkway will be at the perfect height.
Once screeded, don’t walk on or disturb the sand in any way to avoid creating an uneven brick surface.
Step-by-Step Brick Walkway Installation
With preparation complete, it’s time for the most satisfying part of brick walkway installation – laying the bricks themselves.
Brick Walkway Installation: Laying the Field
Start at a fixed edge or corner, preferably against your home’s foundation or another permanent structure. This gives you a solid reference point.
“I always tell homeowners to take extra time getting that first row absolutely perfect,” says a veteran installer. “It sets the tone for your entire walkway.”
Place your first row following a tightly pulled string line for perfect alignment. For a running bond pattern, offset each subsequent row by half a brick length to create a strong, interlocking structure.
Maintain consistent joints between bricks—typically ⅛ to ¼ inch—to allow for expansion and contraction with temperature changes. Gently tap each brick into the sand bed with a rubber mallet, checking your level frequently.
Avoid sliding bricks into position, which can disturb your sand bed. Instead, place each brick directly where it belongs, then tap it down. Most DIYers can lay about 60-75 square feet of brick walkway per day.
Brick Walkway Installation: Cutting Edges & Curves
For straight cuts, mark your cut line directly on the brick using a pencil and straightedge. A wet masonry saw will give you the cleanest cuts—especially important for curved sections where multiple angled cuts create a smooth flowing line.
If working with softer clay bricks, you can sometimes score and split them using a brick chisel and hammer. Place the brick on a solid surface, score along your marked line with several firm taps, then give one decisive strike to split the brick cleanly.
“When I’m cutting bricks for a curved walkway, I like to lay them out first, mark them all at once, then make all my cuts in one session,” shares a professional installer. “It creates a more consistent edge.”
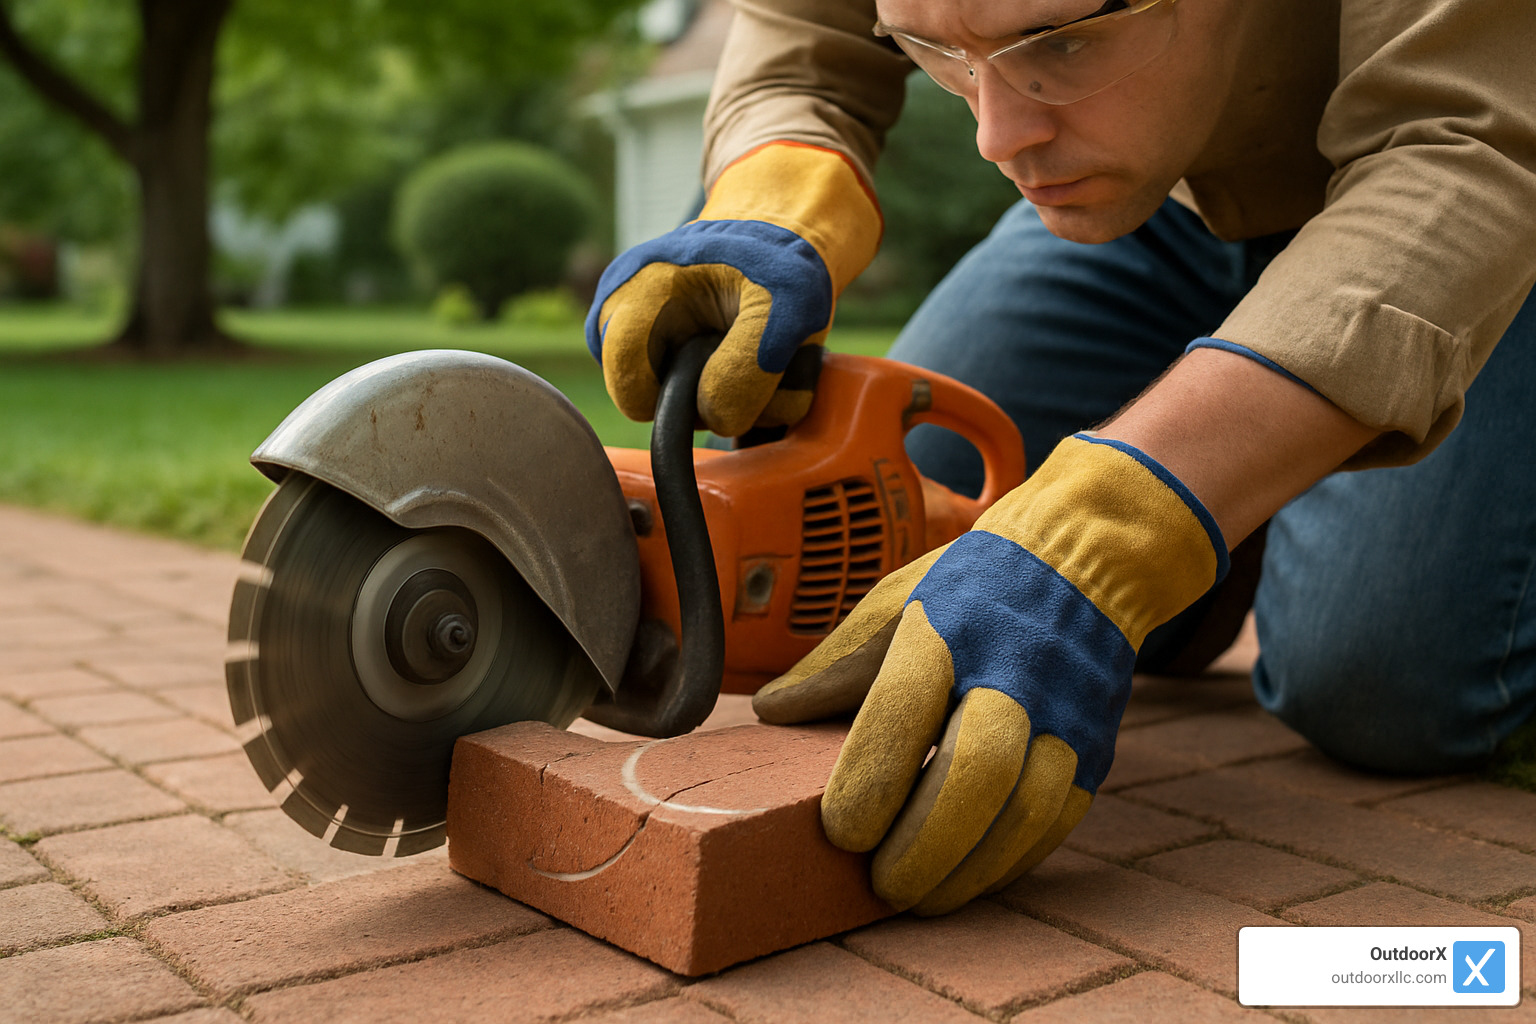
When installing cut pieces, place a scrap of wood over the brick before tapping with your mallet to protect the surface.
Locking Everything in Place
Install plastic or metal edging along both sides of your completed walkway to prevent lateral movement. Position the edging flush with or slightly below the brick surface to avoid creating trip hazards.
Secure your edging with 10-12 inch steel spikes driven every 2 feet. In areas with freeze-thaw cycles like Essex County, consider placing spikes even closer together.
“Installing professional-grade edging is consistently ranked among the most important steps by hardscape professionals,” notes one industry publication. “Without proper edging, even well-installed walkways will eventually spread and lose their shape.”
Backfill against the outside of your edging with soil to conceal it and provide additional reinforcement. If your walkway runs through a lawn area, bring the grass right up to the edge for a seamless transition.
Finishing Touches, Maintenance & Repair
The final steps in your brick walkway installation transform a good walkway into a great one that will stand the test of time.
Filling Joints & Final Compaction
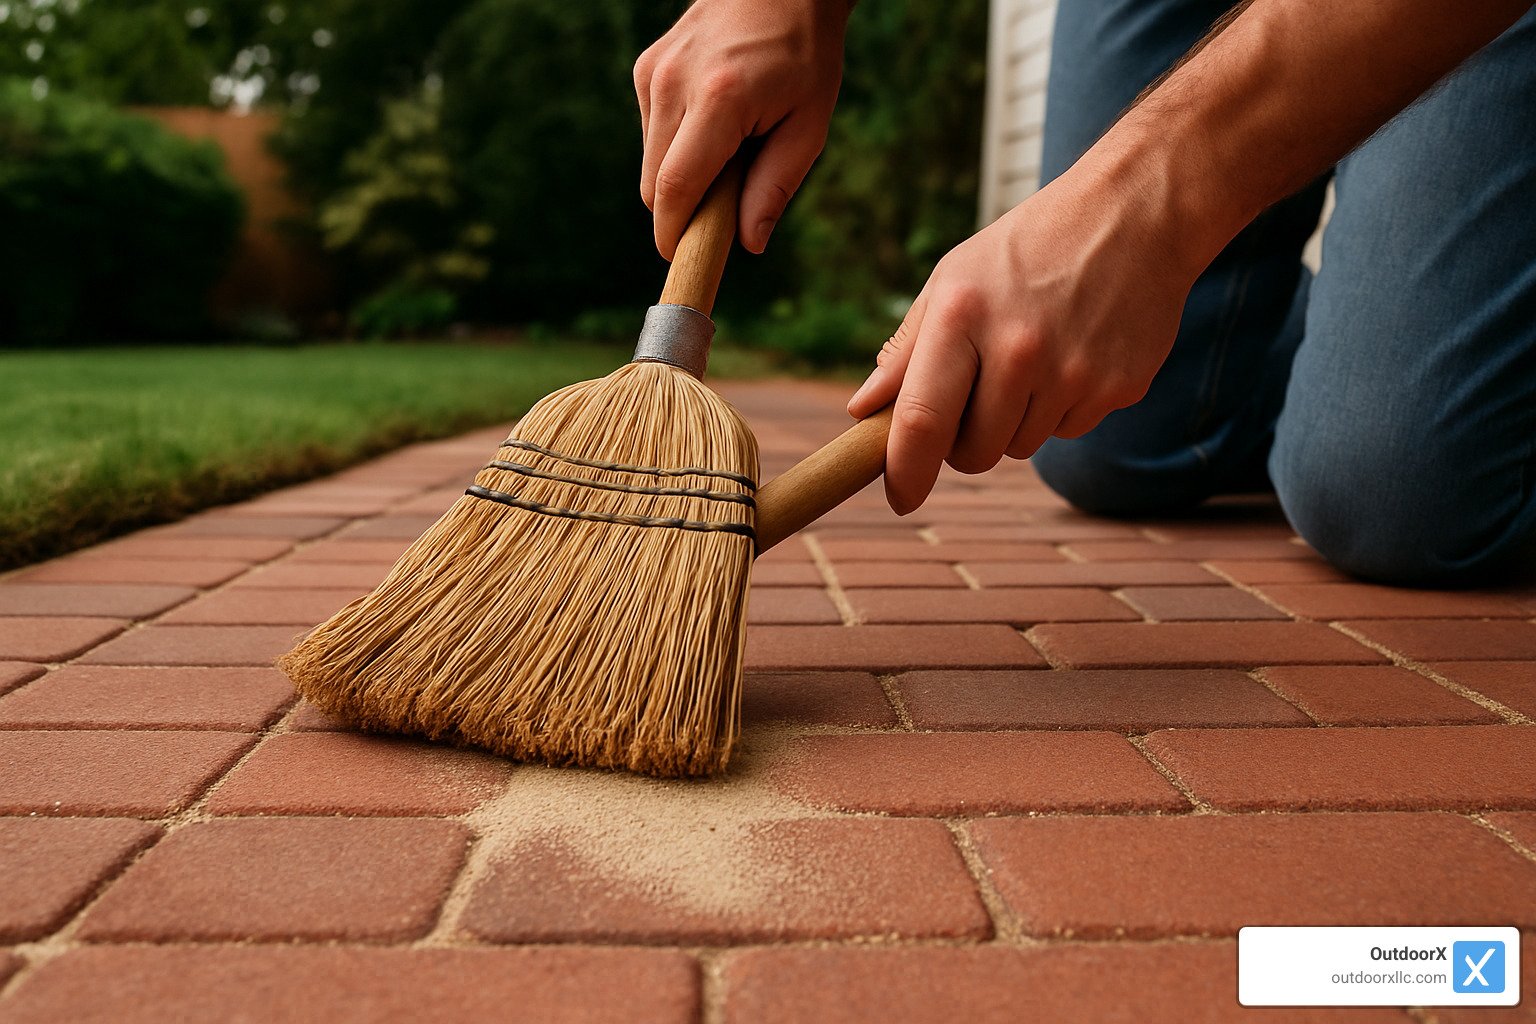
Spread dry sand (or polymeric sand for extra durability) across your walkway and use a push broom to work it into every joint. This requires multiple passes to completely fill the joints.
“Repeat sand-sweeping and misting at least ten times to properly fill joints,” as one experienced installer advised. This thoroughness prevents weeds and keeps bricks from shifting.
After sweeping, run a plate compactor across the surface (with a rubber mat underneath to prevent brick damage). The vibration helps settle the sand deeper into the joints. Add more sand, sweep again, and repeat until no more sand disappears into the cracks.
If using polymeric sand, follow the product instructions for activation—typically a light misting with water that triggers the binding agents.
Long-Term Care Tips
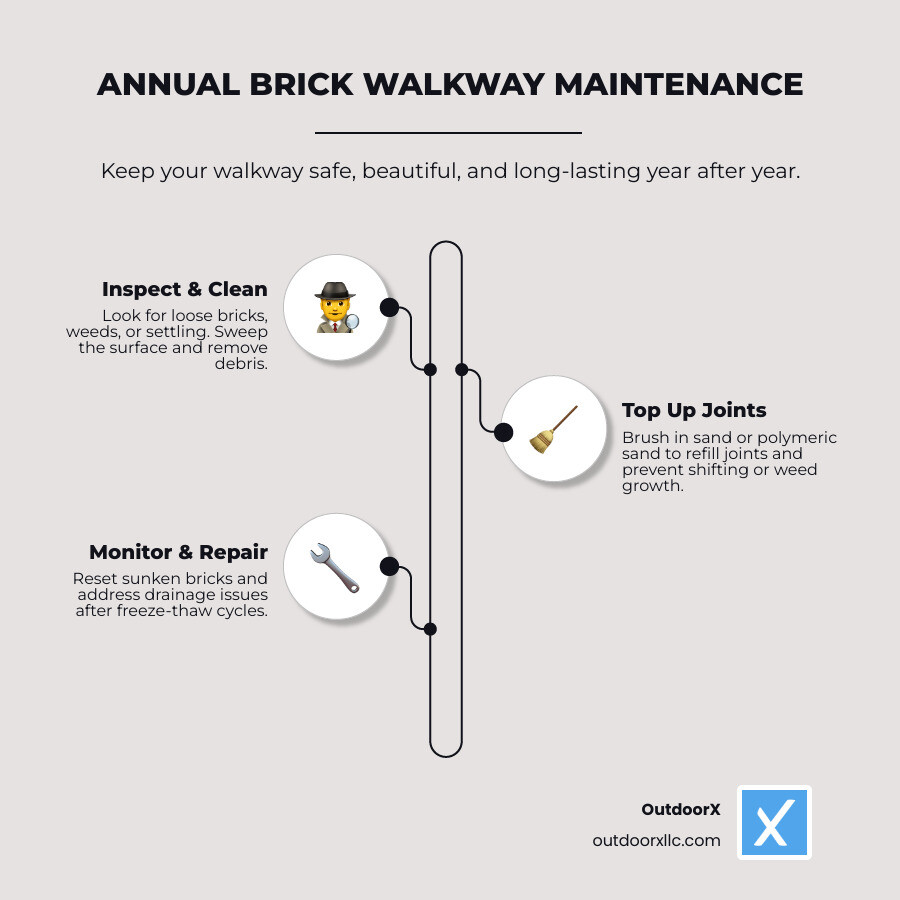
Each spring, inspect your walkway for any bricks that might have shifted or settled and reset them promptly. Add fresh sand to any joints that look sparse.
Pull weeds immediately—roots can gradually push bricks apart. For moss in shady areas, a simple solution of vinegar and water often works without harsh chemicals.
For cleaning, a stiff brush and garden hose are usually sufficient. For tougher stains, a pressure washer on a low setting works well, but be careful not to blast out your joint sand.
Repairing or Redoing an Existing Walkway
For small repairs, use a flat pry bar to carefully lift affected bricks. Address the underlying issue, then reset the bricks following your original installation techniques.
For larger repairs, consider removing and stockpiling all your original bricks to rebuild the base while reusing materials.
Matching existing bricks for replacements can be tricky. Bring a sample when shopping, or check architectural salvage yards for vintage materials that might better match than new products.
Budgeting, Timelines & Common Pitfalls
Understanding the financial and time investment for a brick walkway installation helps set realistic expectations for your project.
Time & Money Savers
A typical 3×25-foot brick walkway will generally cost between $100-$800 in materials if you’re doing it yourself. If you prefer to hire professionals, expect to pay anywhere from $800 to $2,400+ depending on complexity, materials, and site conditions. These are average costs based on internet data and not actual costs for OutdoorX LLC.
Most DIYers complete a standard walkway in a weekend or two, typically investing about 16-24 hours of active work. Equipment rentals like plate compactors and masonry saws will add $75-$150 to your budget.
Smart budget-stretching strategies include borrowing tools instead of renting, sourcing reclaimed bricks, and carefully planning your layout to minimize cuts. Purchasing materials in bulk often yields better pricing, and coordinating equipment rentals with neighbors on similar projects can split costs.
“I saved nearly $300 by coordinating with my neighbor who was doing a similar project the following weekend,” shares one homeowner. “We split the rental costs and even helped each other with the heavy lifting.”
Top Mistakes to Avoid
Skimping on base preparation is probably the most costly mistake long-term. Those extra hours spent properly excavating and compacting will pay dividends for decades.
Using too much sand creates an unstable surface. More than 1 inch of sand bedding allows bricks to shift and sink unevenly.
Poor drainage planning leads to water pooling, which undermines your walkway. In New England’s freeze-thaw cycles, this can be particularly destructive.
Forgetting edge restraints is like building a bookshelf without end supports—everything eventually slides out of place.
Rushing through joint filling might seem minor, but incompletely filled joints allow water penetration, weed growth, and brick movement.
“I thought I’d save time by skipping the compaction between gravel layers,” admits one DIYer. “Two years later, I was redoing the entire walkway because it had settled unevenly.”
Frequently Asked Questions about Brick Walkway Installation
How deep should I excavate for a brick walkway base?
For a successful brick walkway installation, dig 7-9 inches below your desired finished level. This accommodates 4-6 inches of compacted gravel, a 1-inch sand bedding layer, and the thickness of your pavers (typically 2-3 inches).
In Essex County, where freeze-thaw cycles are common, proper depth is crucial. Shallow excavation is the most common DIY mistake and leads to heaving and shifting over time.
“The most common DIY mistake is shallow excavation,” notes one hardscaping professional. “An extra hour with a shovel saves years of headaches.”
What base materials work best in cold climates?
For New England winters, choose materials that provide stability while allowing proper drainage:
Crushed stone or gravel (¾-inch) should be your base material. Its angular shape locks together when compacted while allowing water to drain. Avoid rounded pea gravel, which never compacts properly.
For challenging conditions, stone dust or crusher run creates an even more stable base than gravel alone.
For your sand layer, choose coarse concrete sand rather than play sand or mason’s sand for better drainage and stability.
“Freeze-thaw cycles are a common cause of concrete walkway deterioration,” notes one expert, highlighting why materials with excellent drainage characteristics are essential in our region.
How do I stop bricks from shifting over time?
Preventing brick movement requires attention to several key factors:
Proper edge restraints secured with 10-12 inch spikes every couple of feet contain your walkway and prevent spreading.
Complete joint filling creates friction between bricks that prevents individual pieces from shifting. Multiple passes with sand allow it to settle completely between applications.
Correct sand depth of exactly 1 inch provides stability without allowing movement. More is not better with sand.
Thorough base compaction prevents settling that leads to dips and bumps. Each layer should be compacted separately with multiple passes.
Interlocking patterns like herringbone distribute weight and resist shifting better than simpler patterns.
Using landscape fabric over the compacted base prevents soil migration into your base layers, significantly extending your walkway’s lifespan.
Conclusion
A beautiful brick walkway installation doesn’t just improve your property’s appearance—it creates a lasting pathway that serves your family for decades. Throughout this guide, we’ve covered every step needed to create a professional-quality walkway that will stand up to New England’s challenging seasons.
Success with this project isn’t about rushing to see the finished product. It’s about embracing the process, especially those seemingly mundane preparation steps that actually determine how long your walkway will last. While it might be tempting to skip ahead or reduce the depth of your base materials, these shortcuts inevitably lead to sagging, shifting, and frustrating repairs.
For homeowners across Essex County—whether you’re in historic Salem, coastal Beverly, charming South Hamilton, or scenic Newburyport—a brick walkway installation complements the region’s traditional character while adding significant curb appeal to your property. There’s something deeply satisfying about completing a project that improves your home’s beauty while providing practical, everyday functionality.
We understand that not every homeowner has the time, tools, or inclination to tackle this kind of project. If you find yourself hesitating about any aspect of the installation process, our team at OutdoorX specializes in creating custom hardscaping solutions custom to your property’s unique features and your family’s specific needs. Our experienced craftsmen bring years of hands-on expertise to every project, ensuring flawless installation and durability that will serve you for generations.
Whether you decide to roll up your sleeves for a rewarding DIY weekend or prefer to collaborate with professionals, a thoughtfully designed and properly constructed brick walkway transforms your outdoor living space in ways that continue to delight year after year.
For more information about our expert hardscape services throughout Essex County, visit our hardscaping services page to see examples of our work and learn how we can help bring your outdoor vision to life.