Adding a Drain to a Concrete Patio: Top 3 Easy Fixes
Adding a drain to a concrete patio can be a game-changer for homeowners dealing with water pooling and drainage issues in their outdoor spaces. Water accumulation isn’t just an eyesore; it poses a risk of damage to your patio, home foundation, and landscape. To maintain a beautifully functional outdoor space—especially in regions like Essex County, MA, where unpredictable weather is common—ensuring proper drainage is essential.
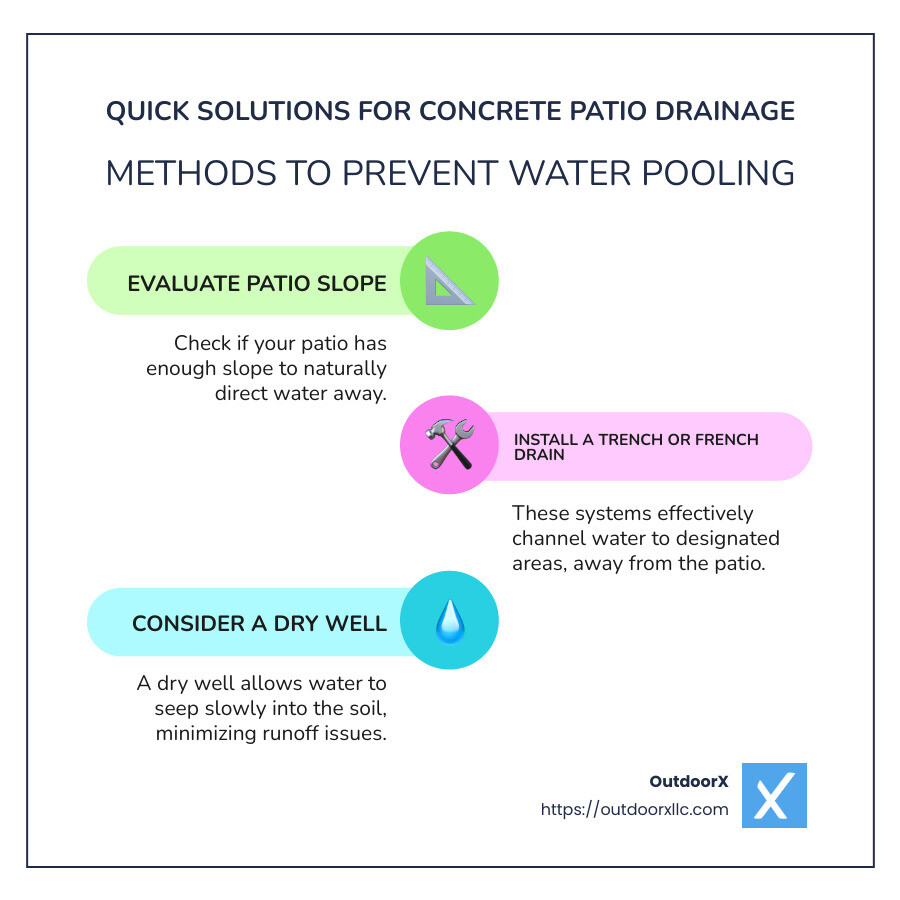
Quick Solutions for Adding a Drain:
- Evaluate Patio Slope: Check for a sufficient slope to naturally direct water away.
- Install a Trench or French Drain: These options efficiently channel water to designated areas.
- Consider a Dry Well: This helps water seep slowly into the soil, reducing runoff issues.
Water pooling can turn your patio into a slippery hazard and lead to erosion or flooding. An effective drainage solution not only preserves your patio’s life span but also improves overall usability and aesthetics.
Understanding Drainage Needs
When it comes to adding a drain to a concrete patio, understanding your drainage needs is crucial. This involves assessing the slope, trench depth, and dry well requirements to ensure effective water management.
Slope Gauge
The first step is to determine the slope of your patio. A slope gauge is an invaluable tool for this task. It helps you measure the incline of your patio surface, ensuring water flows away from your home rather than pooling on the patio. Ideally, your patio should have a slope of about 1/4 inch per foot. This slight angle is enough to guide water toward your drainage system without causing discomfort when using the patio.
Trench Depth
Next, you need to dig a trench. The trench depth is vital for effective drainage. A typical trench should be about 6 inches deep, but this can vary based on your specific situation. The trench should run from the patio toward a designated drainage area, such as a dry well or storm drain.
A properly dug trench is key to preventing water from backing up and causing damage. Use a slope gauge to ensure the trench itself maintains a consistent slope, guiding water efficiently to its destination.
Dry Well
A dry well is an excellent solution for areas where water cannot be directed to a storm drain. It acts as an underground reservoir, collecting water and allowing it to seep slowly into the surrounding soil. This method reduces surface runoff and helps manage large volumes of water during heavy rains.
When planning a dry well, check local codes for size requirements. The size might depend on your property’s conditions or neighborhood regulations. Typically, a dry well should be two to four feet wide and three feet deep, but always verify these dimensions with local guidelines.
Using these tools and techniques ensures that your patio remains dry and safe, even during heavy rainfall. Proper drainage not only protects your patio but also improves the longevity of your landscape and home foundation.
Adding a Drain to a Concrete Patio
Installing a drain in your concrete patio can seem daunting, but with the right tools and a clear plan, it’s a manageable task. Let’s break down the essentials and the step-by-step process to make your patio dry and safe.
Tools and Materials Required
To start, gather the necessary tools and materials. Here’s what you’ll need:
- Jackhammer: Essential for breaking through the existing concrete. It makes the job faster and more efficient.
- PVC Pipe and Drainpipe: These will channel the water away from your patio. Opt for a 4-inch perforated drainpipe for optimal drainage.
- Landscape Fabric: This prevents soil from clogging the drainage system. It’s crucial for maintaining a clear path for water.
- Gravel: Used to line the trench, it helps with water filtration and supports the pipe.
- Slope Gauge: Ensures the trench and patio have the correct slope for effective drainage.
Step-by-Step Installation Process
Trench Preparation
- Identify the Drainage Path: Before you start, decide where the water will exit your property. This could be a dry well or a designated storm drain.
- Mark the Trench Path: Use chalk or spray paint to outline where you’ll dig. Ensure the path leads to your drainage point.
- Break the Concrete: Use the jackhammer to carefully break through the concrete along the marked path. Take care not to damage surrounding areas.
- Dig the Trench: Dig a trench about 6 inches deep, maintaining a consistent slope of 1/4 inch per foot. This ensures water flows efficiently.
Pipe Connection and Gravel Lining
- Line the Trench with Landscape Fabric: Lay the fabric along the trench to prevent soil intrusion.
- Add Gravel: Pour a layer of gravel into the trench. This supports the pipe and aids in drainage.
- Install the Drainpipe: Place the 4-inch perforated pipe into the trench, with holes facing down. Connect sections of the pipe using couplings, avoiding glue for easy adjustments.
- Cover with Gravel: Add more gravel over the pipe, filling the trench until it’s level with the surrounding soil.
Concrete Cutting and Final Touches
- Cut and Fit Concrete: If needed, cut patio blocks to fit over the trench, maintaining a seamless look.
- Backfill and Tamp: Backfill the trench with soil, tamping it lightly to prevent settling.
- Replace the Sod: If you removed any grass, roll it back over the trench and water it to encourage growth.
With these steps, your patio will have a functional drainage system that prevents water pooling and potential damage. Properly adding a drain to a concrete patio not only protects your outdoor space but also improves its usability and longevity.
Types of Drains for Concrete Patios
When it comes to adding a drain to a concrete patio, choosing the right type of drain is crucial. The right choice will depend on your specific needs, patio design, and local conditions. Let’s explore the most common options: floor drains, channel drains, and French drains, and how to select the best one for your patio.
Floor Drain
A floor drain is typically installed at the lowest point of your patio. It collects water and channels it away through underground pipes. Floor drains are ideal for patios that are already sloped towards a central point.
Pros:
– Efficient at collecting water from a single point.
– Can be connected to a storm drainage system.
Cons:
– Requires precise installation to ensure the patio slopes toward the drain.
Channel Drain
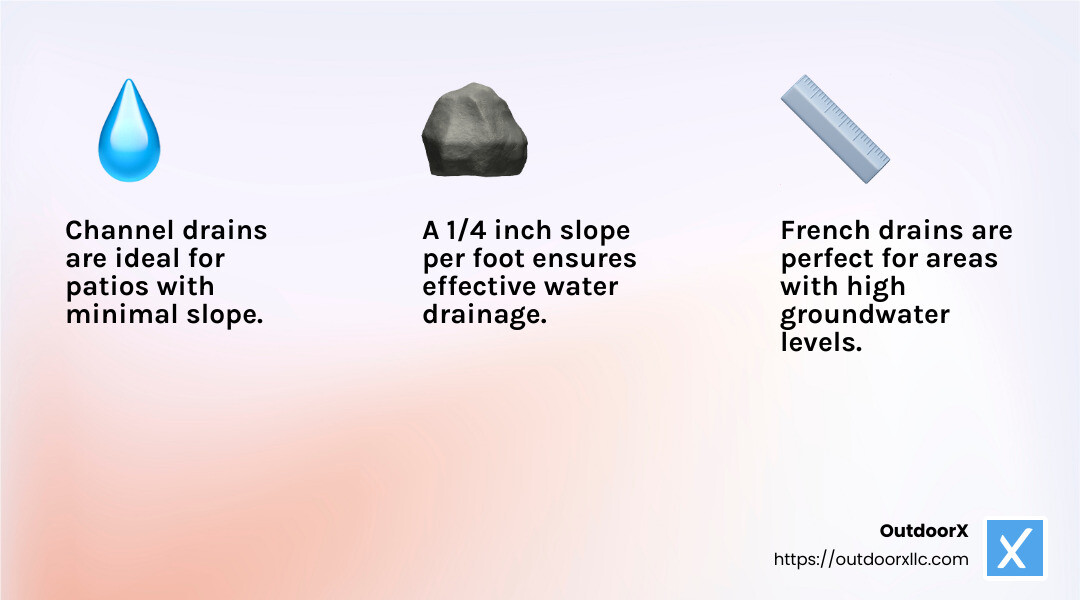
Channel drains, also known as trench drains, are long, narrow drains that collect water across a wider area. They are perfect for patios with minimal slope or those that need to manage water over a large surface.
Pros:
– Covers a larger surface area for water collection.
– Can be installed along the edge of the patio for effective drainage.
Cons:
– Installation can be more labor-intensive due to the need for trenching.
French Drain
A French drain is a trench filled with gravel or rock containing a perforated pipe that redirects surface water and groundwater away from your patio.
Pros:
– Excellent for areas with high groundwater levels.
– Can be hidden beneath the surface for a clean look.
Cons:
– Not suitable for patios where water needs to be quickly removed from the surface.
Choosing the Right Drain for Your Patio
When selecting a drain type, consider the following:
- Drain Grate: Choose a grate that matches your patio’s aesthetic and can handle the expected water flow. Grates come in various materials and styles, from decorative cast iron to simple plastic.
- Core Drill: If installing a floor drain, you may need a core drill to create a precise hole in your concrete. This tool ensures a clean cut and proper fit for the drain.
- Slope Considerations: Ensure your patio has the correct slope for effective drainage. A slope of 1/4 inch per foot is generally recommended to allow water to flow towards the drain naturally.
Selecting the right drain is a key step in ensuring your patio remains dry and functional. Whether you opt for a floor drain, channel drain, or French drain, each choice has its benefits and installation considerations. Up next, we’ll dive into some frequently asked questions about patio drainage to help you make informed decisions.
Frequently Asked Questions about Adding a Drain to a Concrete Patio
Can you add a drain to existing concrete?
Yes, you can add a drain to an existing concrete patio. The process involves trench digging to install the necessary piping. Before you start, you should use a slope gauge to determine the current slope of your patio. This will help you decide where to place the drain so water flows naturally towards it.
To add a drain, you’ll need to cut into the existing concrete. A jackhammer or a similar tool can be used for this. Once you’ve created the trench, you can install the drain and connect it to a storm drainage system or a dry well. It’s crucial to ensure that the patio slopes correctly to allow water to flow towards the drain.
How to add drainage to a concrete patio?
Adding drainage to a concrete patio involves several key steps. First, identify the lowest point of your patio. This is where a floor drain would be most effective. If you’re using a French drain, which is excellent for areas with poor drainage, you’ll need to dig a trench filled with gravel and a perforated pipe.
- Trench Digging: Use a spade to dig a trench where the drain will be installed. The trench should be sloped at about 1/4 inch per foot to guide water flow.
- Concrete Installation: Cut the concrete using a saw or jackhammer to create space for the drain.
- Install the Drain: Place the drain at the correct height, ensuring it’s slightly lower than the surrounding patio surface to catch water effectively.
- Connect to a System: Attach the drain to a storm drainage system or a dry well to manage water runoff.
What are the best patio drainage options?
The best drainage option depends on your specific patio conditions. Here are some popular choices:
- French Drain: Ideal for managing both surface and groundwater. It’s a trench filled with gravel and contains a perforated pipe to redirect water away from the patio.
- Storm Drainage System: Connects directly to municipal storm drains, efficiently managing large volumes of water. This is a great option if your patio experiences heavy rainfall.
- Floor Drain: Perfect for patios that already have a natural slope. The drain collects water at a central point and directs it away through underground pipes.
Each option has its pros and cons, so consider your patio’s layout and local weather conditions when choosing the best drainage solution.
These FAQs should help guide you in making informed decisions about adding a drain to a concrete patio. Whether you’re dealing with minor water accumulation or significant drainage issues, the right solution can keep your patio dry and functional.
Conclusion
At OutdoorX, we understand the importance of a dry and functional patio. Our team specializes in creating custom landscaping solutions that address your unique needs. Whether you’re looking to add a drain to a concrete patio or completely transform your outdoor space, our expert craftsmanship ensures that your project is completed with precision and care.
We take pride in using only the highest quality materials to ensure durability and longevity. Our approach to patio design and installation is both meticulous and creative, allowing us to craft outdoor areas that not only solve drainage issues but also improve the beauty and usability of your space. From the initial consultation to the final touches, we work closely with you to bring your vision to life.
If you’re ready to tackle your patio drainage issues or explore other outdoor improvements, contact us to start the journey. Our team is here to help you achieve a beautiful, functional, and dry outdoor space that you can enjoy for years to come.
